Creating Custom MeshGroups
You can create meshgroups from any of your own meshes or even the Unity built in meshes.
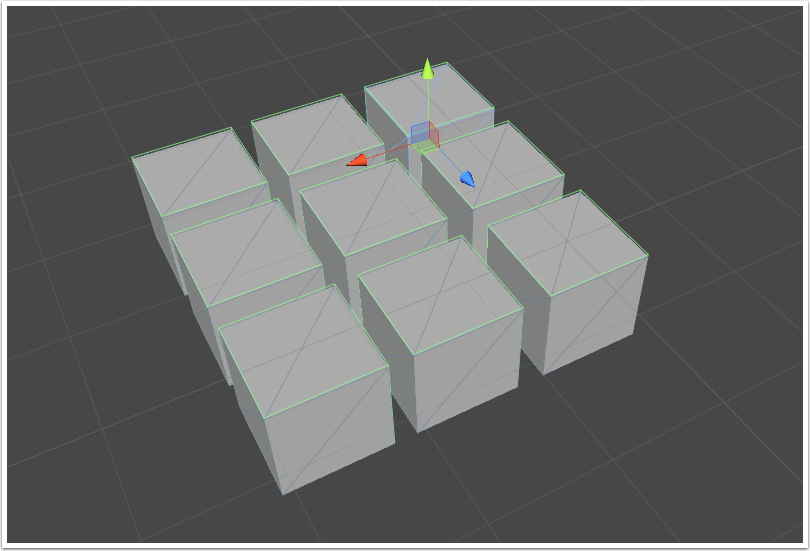
Drag a few of your instances into the scene. In this example, we've just dragged a few Unity boxes into the scene.
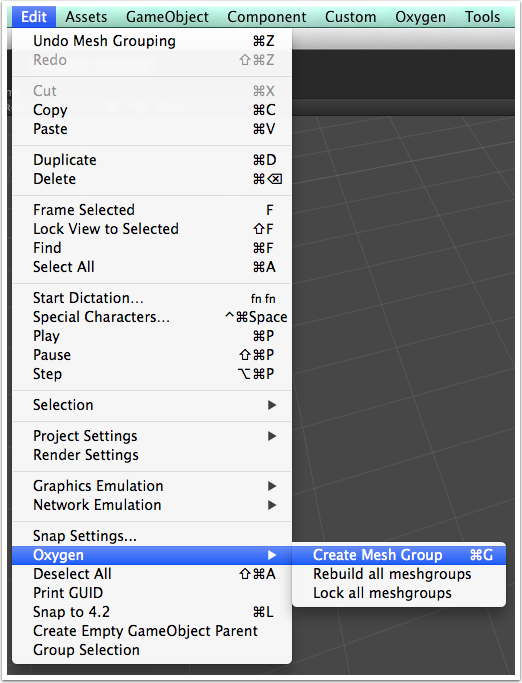
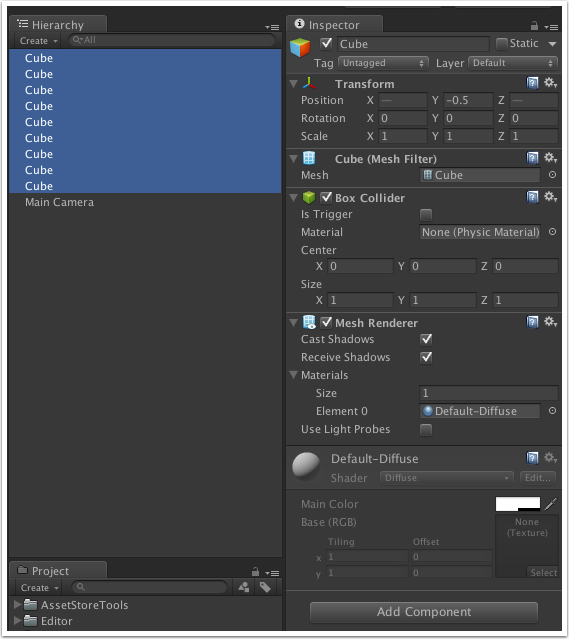
Select all your objects, and create a meshgroup by clicking on Edit > Options > Create Mesh Group.
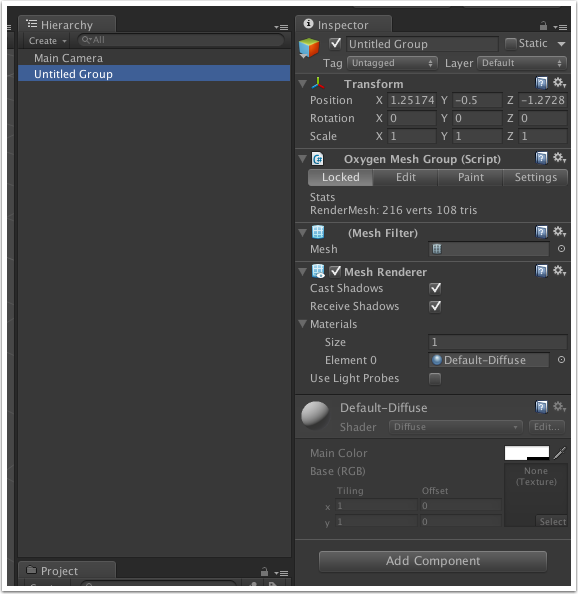
Note that your meshes have now disappeared and are replaced by a locked mesh group. This mesh group now contains the geometry that is rendered - and this means you can now paint vertex colors on it. If you need to edit the contents or rearrange the objects, switch the mesh group from "Locked" to "Edit" mode.
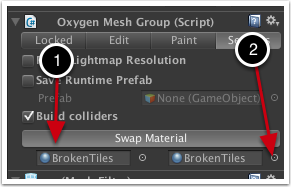
Lets try to paint on this model. Default Unity shaders don't use or display vertex colors so you will need to switch to something that does. We'll simply pick a Oxygen material for this, but this is just to illustrate the steps - you are free to use any material that uses vertex colors. Switch to the "Settings" tab, click "Swap Material". Click on the target material slot, and switch the material to "BrokenTiles".
Now that you can what you will be painting into the vertices - you can simply switch to the Paint tab and Start Painting!

Be sure to read more about meshgroups here.