Oxygen Reference
Mesh Groups
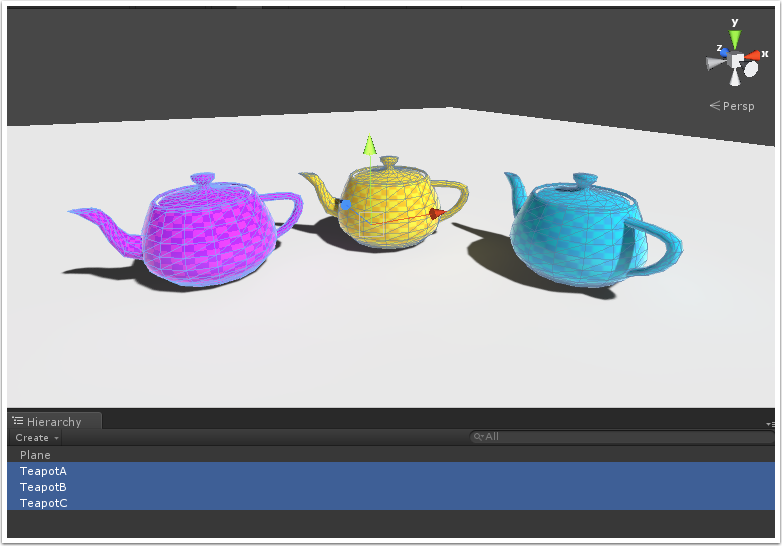
Start by multi-selecting a group of objects in your scene. This can include object hierarchies - Oxygen will handle these correctly.
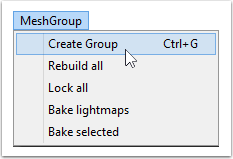
Click "Create Group" in the MeshGroup menu.
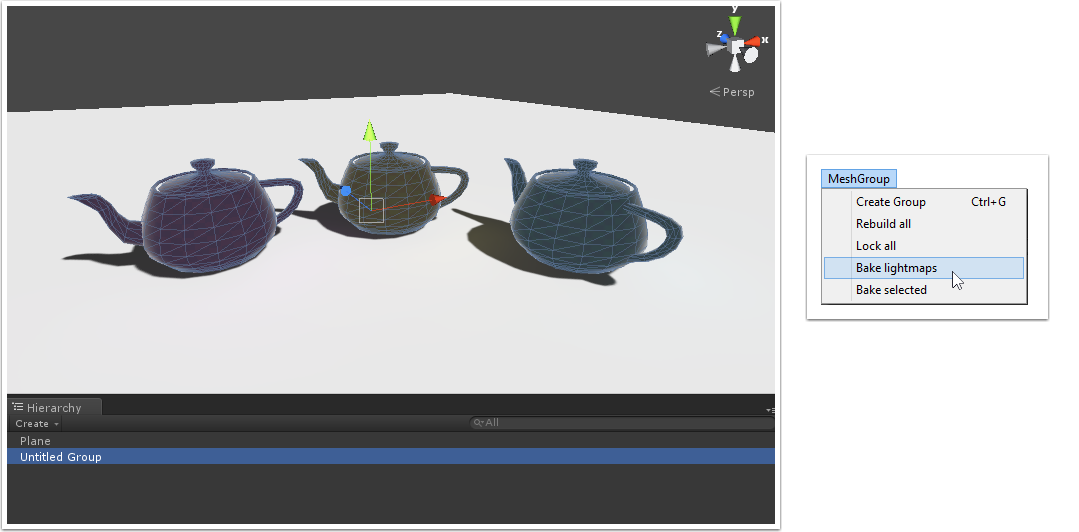
This will replace your selected objects with a MeshGroup object called "Untitled Group". If the objects were the child of an Environment Setter object, you will need to select the setter object and click "Refresh" in the inspector in order to see the cubemap on the new mesh group. If using lightmaps, you should now use one of the Bake options in the MeshGroup menu to update the lightmaps for your scene, instead of the Unity Lightmapping panel's Bake button.
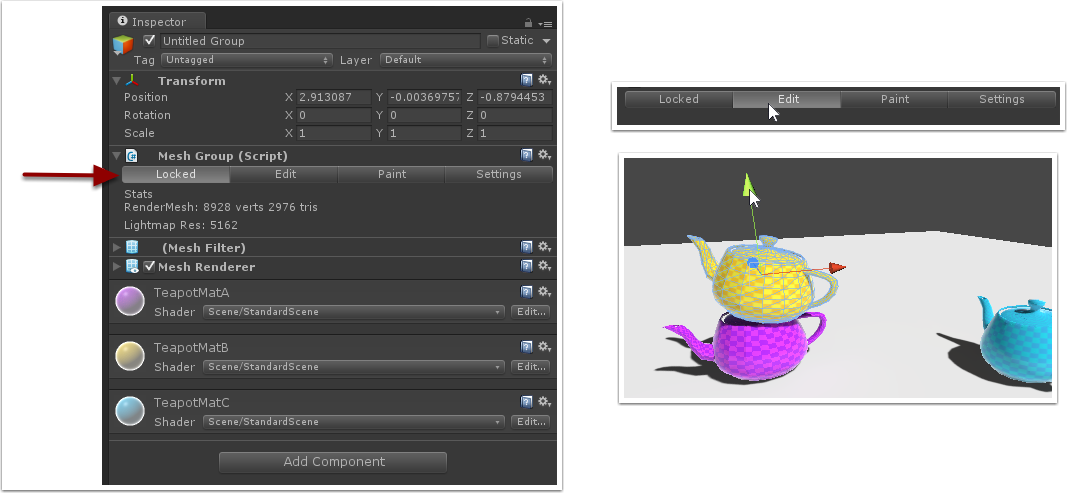
Initially, the mesh group is in Locked mode meaning you can't edit the transforms of the individual grouped objects. If you need to reposition a mesh group's objects separately, switch it to Edit mode by clicking "Edit" on the MeshGroup component. The mesh group won't automatically revert to Locked mode, so you should click the "Locked" button once you're done.