Oxygen Tutorial
Creating a basic scene using prefabs
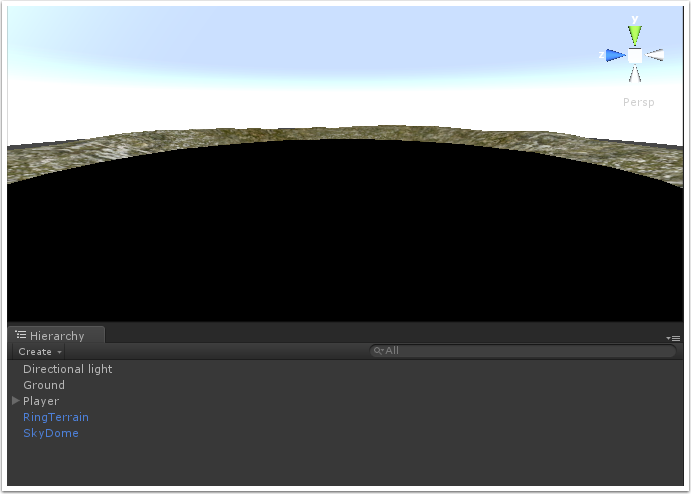
Open the scene "Tutorial1". This scene contains the sky and background we'll be using. You're free to use any of your own skies should you prefer it, but HDR skies will be essential for good looking reflections.
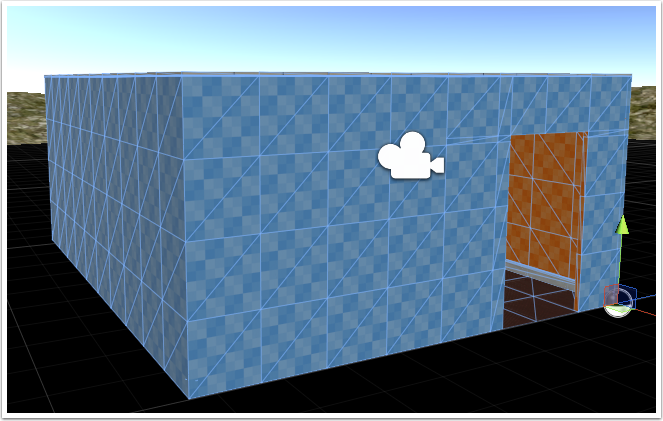
From the Prefabs folder in the project, drag the Room2x2.5U prefab into the scene. Set the position on this prefab to 0, 0, 0. For the purposes of this tutorial, we've turned off lighting in the scene view to make it slightly easier to work with.
Room2x2.5U
Do the same with the following prefabs. You can drag these prefabs directly onto the surface they attach to.
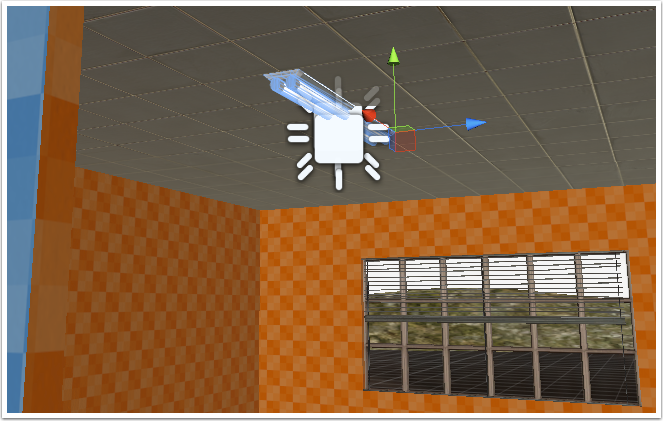
LightFittingOn
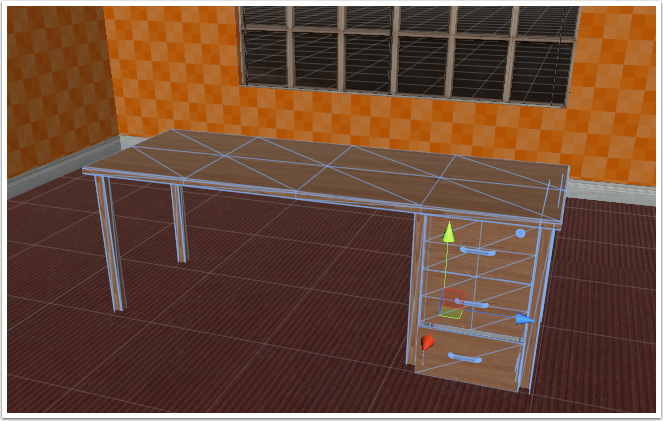
DeskTeak
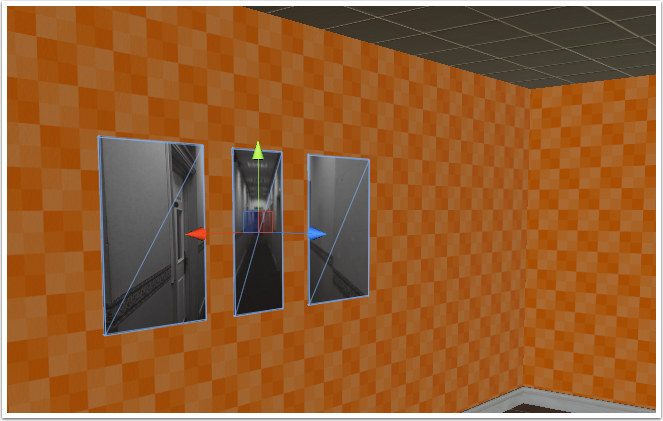
Art
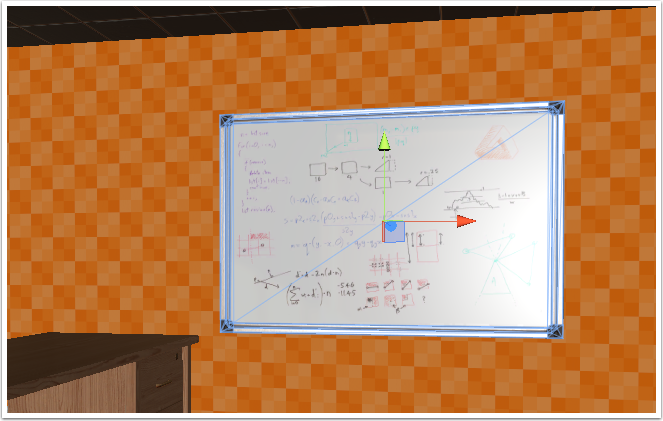
WhiteBoard
Setting up materials
The orange & blue grids on the walls don't look particularly interesting or realistic. Oxygen has some helpers to quickly change materials in the prefab. This allows you to assign different materials to all interior or exterior walls very quickly without having to select individual prefabs.
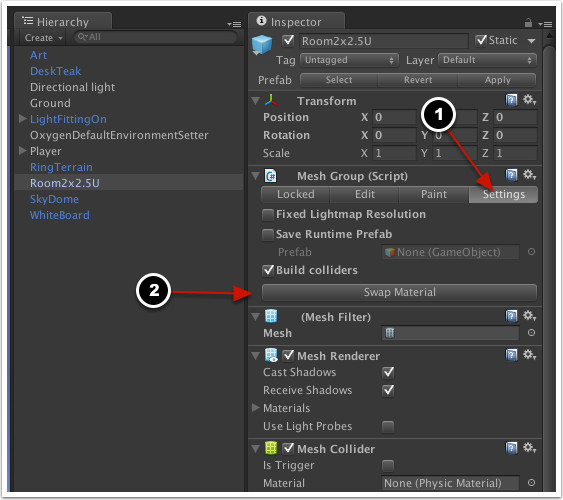
Click on the Room2x2.5U instance in the hierarchy window to select it. You'll see a "Mesh Group" script applied to it. By default it will be "Locked" - meaning the room appears and behaves as one large composite object. It is actually built out of smaller components, but we won't need to care about that for the purposes of this tutorial.

Click on the "Settings" tab, and the click on the "Swap Material" button.
The swap material tool will quickly swap all occurances of a material in all sub-objects. What we want to do here is swap TemplateOutside (the blue grid) to a suitable external wall material, and TemplateInside (the orange grid) to a suitable plaster wall material.
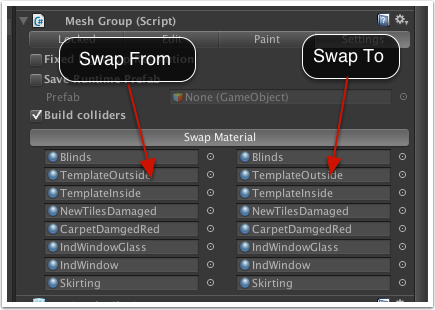
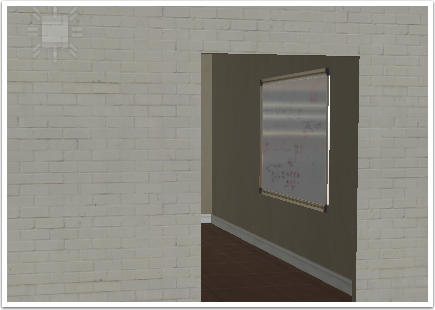
To do so, find the WhiteBrick material in the project, and drag it onto both the TemplateOutside slot on the right hand side. Do the same with PaintedPlaster onto the TemplateInside slot. The scene should now look like this, with different materials applied to the internal and external walls.
Baking Lightmaps
Oxygen doesn't need lightmaps to work, but we will briefly cover lightmap baking here as the demo scene uses lightmaps for best quality / performance when target low end hardware.
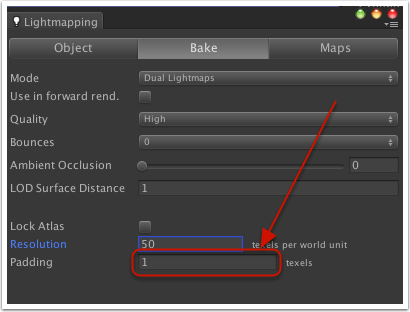
Open Unity's Lightmapping window from the Window menu. Under the Bake tab, set Padding to at least 1. This is sometimes required to avoid nasty lightmap errors.
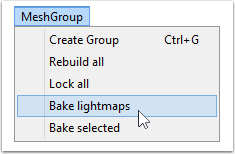
Choose "Bake lightmaps" from the MeshGroup menu. Be sure to always bake lightmaps using the MeshGroup menu - this ensures the mesh groups are all optimized before lightmaps are baked.
Your scene should now have lightmaps baked. If you observe closely, you'll notice that the reflections on the object aren't correct - we will fix this in the next part of the walkthrough.